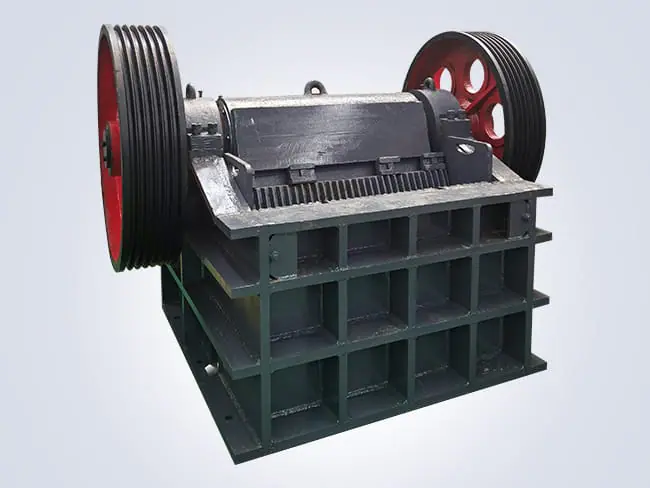
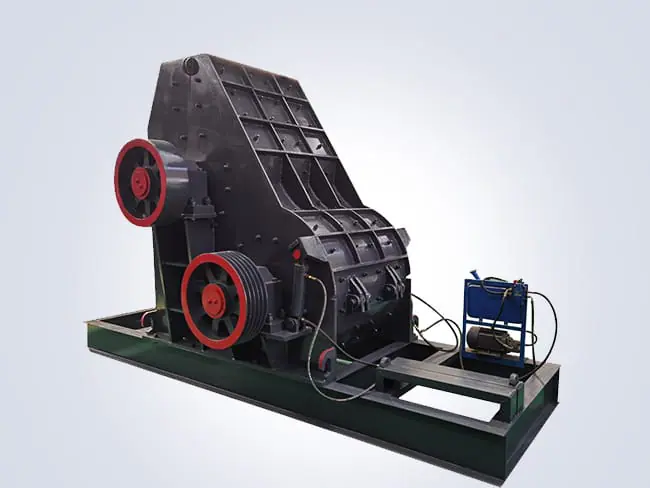
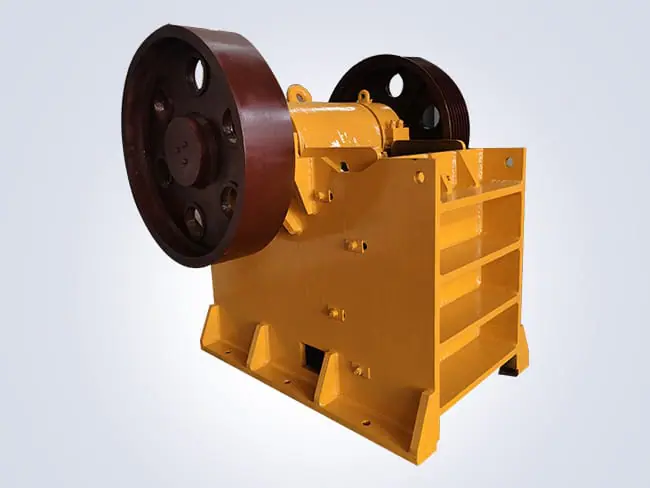
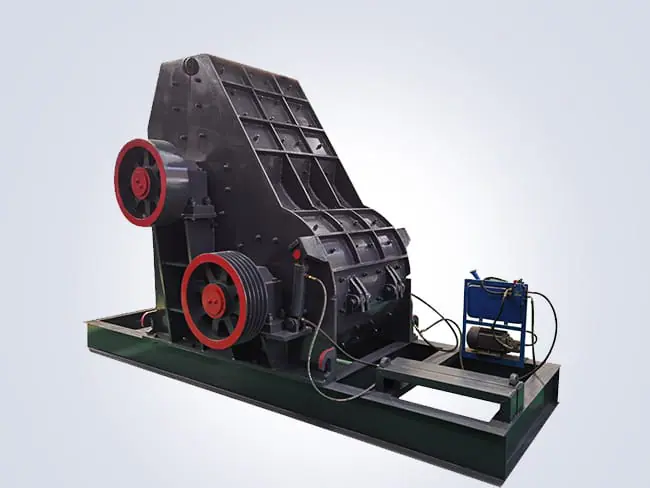
Hammer crusher is widely used for limestone, coal, construction waste and other medium‑hard brittle materials. Its high‑speed rotor and hammer head structure deliver high crushing ratio, yet it is sensitive to improper feeding, wear part aging and poor daily care. Unplanned downtime caused by sudden faults can delay the whole crushing line and raise operation cost.
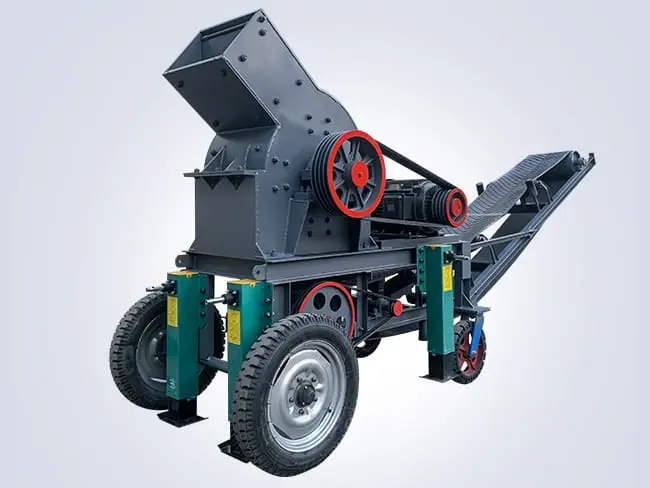
This practical guide covers routine maintenance schedules, inspection checklists, common faults and step‑by‑step fixes. It is written for plant operators, maintenance technicians and quarry managers. Following these practices helps extend equipment service life, keep stable throughput and reduce spare part consumption. You can also check our hammer crusher product page to learn more about our equipment and wear parts.
Safety Precondition Before Any Inspection or Repair
Safety comes first before opening the crusher housing or clearing blockages.
- Cut off main power and lock out the power switch. Post warning signs to prevent accidental startup.
- Wait until the rotor completely stops rotating. Never reach into the crushing chamber while the machine is still coasting.
- Wear protective gloves, safety goggles and steel‑toe boots. Use proper tools instead of improvised parts.
- For blockage cleaning, do not stand directly in front of the discharge opening.
Preventive Maintenance Schedule (Daily / Weekly / Monthly)
Daily Check (Before & After Each Shift)
- Listen for abnormal knocking, grinding or rattling noise during startup.
- Check bearing temperature; normal working temperature should stay below 70–80°C.
- Check feeding uniformity, watch for sudden surges or sticky material buildup.
- Inspect discharge grate bars for clogging and material accumulation.
- Check V‑belt tension and surface cracks.
- Confirm all cover bolts, liner bolts and foundation bolts are tight.
Weekly Maintenance
- Open the inspection door to check hammer head wear, cracks and missing pieces.
- Check inner liner plates for wear and deformation.
- Clean dust and material residue around bearing housings and sealing parts.
- Re‑grease bearings with suitable lithium‑based grease; avoid over‑greasing.
- Check the iron remover if installed, remove collected metal scraps.
Monthly Maintenance
- Measure hammer head remaining thickness, arrange rotation or grouped replacement.
- Inspect grate bars for bending, fracture and excessive gap expansion.
- Check rotor runout and coupling alignment.
- Check lubricant quality, replace contaminated grease completely.
- Tighten all anchor bolts and recheck rotor balance after replacing hammers.
- Record operation data: throughput, power reading, wear condition and faults in a log sheet.
Key Wear Parts Maintenance Tips
Hammer Heads
Hammer heads are the main consumable component. Uneven wear is the top cause of rotor vibration.
- When one side is worn, flip the hammer head to use the other working face.
- When replacement is needed, replace hammers in matched pairs to keep rotor balance. Keep weight difference of paired hammers within a small range.
- Choose wear‑resistant alloy hammer heads for longer service life.
- Never mix new and old hammers randomly on the rotor.
Grate Bars
Grate bars control finished particle size. Blocked or broken grate bars directly lead to coarse output and capacity drop.
- Clean sticky material on grate gaps regularly, especially for high‑moisture feed.
- Replace bent or cracked grate bars in time.
- Select proper grate gap size according to finished aggregate requirements.
Bearings & Seals
Bearings support high‑speed rotor load. Dust ingress and wrong lubrication shorten bearing life quickly.
- Do not fill bearing housing fully; fill roughly 50% of the space with grease. Too much grease will cause overheating.
- Replace oil seals once dust leakage or grease leakage appears.
- Keep the bearing housing dust shield intact.
Common Faults, Causes & Practical Solutions
1. Strong Vibration During Operation
Possible causes
- Broken, missing or unevenly worn hammer heads; mismatched hammer weight
- Loose foundation bolts or bearing seat bolts
- Material stuck on rotor surface, causing imbalance
- Misalignment between motor and crusher rotor
- Bearing damage
Solutions
- Stop the machine, inspect all hammers; rearrange or replace them in pairs, then do balance check
- Clean material buildup on rotor
- Retighten all anchor bolts
- Re‑align motor and rotor coupling
- Replace damaged bearings
2. Bearing Overheating
Possible causes
- Insufficient grease, contaminated grease or excessive grease
- Bearing seal damaged, dust entering
- Belt tension too tight
- Bearing worn or damaged
Solutions
- Clean bearing housing, add correct amount of qualified grease
- Replace damaged oil seal
- Adjust V‑belt to proper tension
- Replace failed bearing assembly
3. Crushing Chamber Blockage & Motor Overload
Possible causes
- Overfeeding or sudden large chunks entering the chamber
- High moisture and sticky material sticking on grate bars
- Foreign metal objects trapped inside
- Discharge opening blocked by accumulated stones
Solutions
- Stop feeding first, then shut down power and clear blockage manually
- Adjust feeder speed to maintain even feeding rate
- Pre‑dry high‑moisture materials or select non‑screen hammer crusher variant
- Install magnetic iron remover before feeding to catch metal scraps
- Clean discharge passage regularly
4. Finished Particles Too Coarse, Output Size Not Qualified
Possible causes
- Hammer heads severely worn, impact force reduced
- Grate bars worn, gap widened or broken
- Rotor speed dropped due to slipping belts
Solutions
- Flip or replace hammer heads
- Replace damaged grate bars
- Adjust V‑belt tension or replace aging belts
5. Abnormal Knocking Sound Inside Chamber
Possible causes
- Metal or unbreakable hard objects fall into crushing chamber
- Loose liner plates or loose hammer fixing bolts
- Hammer head collides with grate bars
Solutions
- Shut down power immediately, open inspection door and clean foreign objects
- Check and tighten liner bolts and hammer fixing bolts
- Adjust clearance between hammer and grate bars
Preventive Habits to Lower Failure Rate
- Control feed size strictly. Raw block size should not exceed the designed maximum feed size.
- Install magnetic iron remover upstream to protect hammers and rotor.
- Avoid continuous overload running; watch motor current in real time.
- Keep spare wear parts (hammers, grate bars, seals, bearings) in stock to cut downtime.
- Train operators to recognize early warning signs: rising temperature, strange noise, vibration and capacity drop. Early intervention avoids serious secondary damage.
FAQ
Q: Can I replace only one broken hammer instead of a set? A: It is not recommended. Single replacement breaks rotor balance and triggers heavy vibration, which may damage bearings and main shaft. Always replace hammers in matched pairs.
Q: How often should I replace hammer heads? A: Service life depends on material hardness, abrasiveness and daily running hours. Record wear thickness every week and arrange rotation or replacement based on inspection results.
Q: What to do if the crusher blocks frequently with wet clay‑rich material? A: Standard single‑stage hammer crusher is not ideal for very sticky wet feed. You can reduce feeding speed, pre‑dry raw material or switch to two‑stage non‑screen hammer crusher.
Conclusion
Hammer crusher reliability depends far more on routine maintenance than emergency repair. A stable inspection schedule, careful wear‑part management and standardized operation can greatly reduce unexpected shutdowns and control your production cost.
If you need technical support or wear part supply for your hammer crusher, feel free to contact Hengtong Machinery. Our team can offer maintenance guidance and matching spare part plans for your crushing line.